1. 새로운 repository 만들기
- username.github.io 형식으로 만들기
- Public 체크
- Add a README file 체크
초록 버튼 Create repository 선택

2. 로컬 저장소로 repository를 clone 하기
<> code - HTTPS 에서 주소 복사

git clone https://github.com/{my_github_username}/{my_github_username}.github.io
# git clone (복사한 주소)
git_blog 라는 폴더를 만들어 그곳에 clone

3. Clone 한 폴더에서 index.html 파일 생성
html 처음 접근했을 때 보여질 화면을 결정
터미널에서 html 파일 만들기(창을 띄우기 위한 예시파일)
cd username.github.io
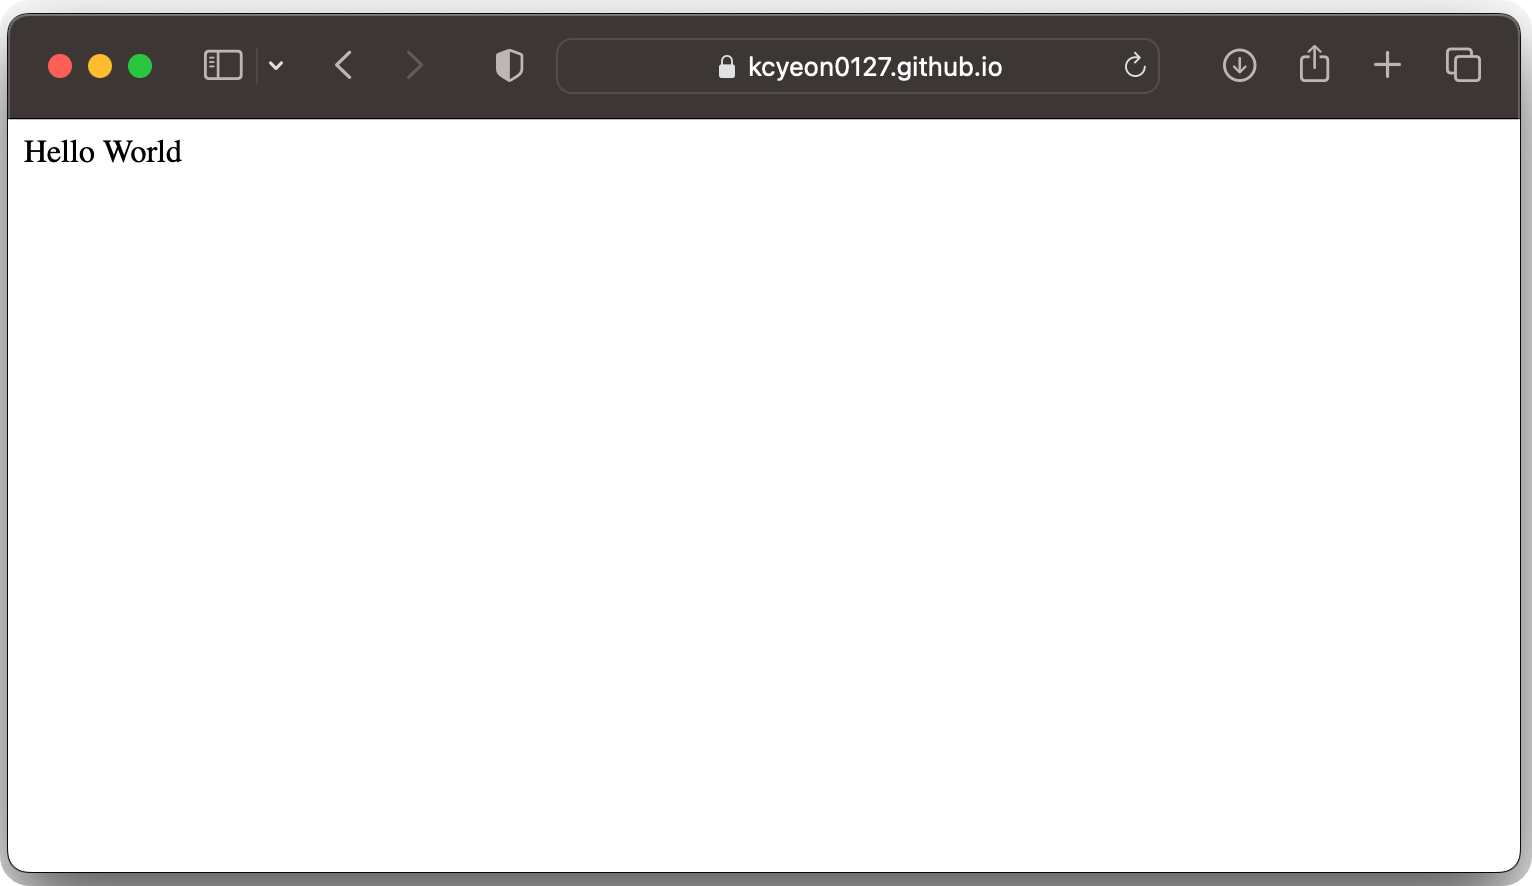
echo "Hello World" > index.html
4. 생성한 파일을 원격 저장소로 Push하기
git add *
git commit -m "표시될 문장"
git push -u origin main
# 오류! https://codingowo.tistory.com/10
remote: Support for password authentication was removed on August 13, 2021.
remote: Please see https://docs.github.com/get-started/getting-started-with-git/about-remote-repositories#cloning-with-https-urls for information on currently recommended modes of authentication.
fatal: Authentication failed for 'https://github.com/kcyeon0127/kcyeon0127.github.io.git/'
Github push 가 안된다(git Token 발급)
remote: Support for password authentication was removed on August 13, 2021.remote: Please see https://docs.github.com/get-started/getting-started-with-git/about-remote-repositories#cloning-with-https-urls for information on currently recommended modes of a
codingowo.tistory.com
5. push 하고 나면 홈페이지를 확인할 수 있다

다음은 Jekyll 테마를 사용해 홈페이지를 만들어야 한다.
'깃, 깃허브' 카테고리의 다른 글
| 깃 명령어: 작업 되돌리기 git checkout (1) | 2024.05.13 |
|---|---|
| 깃 명령어: add, commit과 저장소 만들기 (1) | 2024.05.11 |
| 깃허브 블로그 만들기: ruby, Jekyll 설치 (Gem::FilePermissionError) (0) | 2024.05.10 |
| [Mac] git 시작하기: 리눅스 명령어 (1) | 2024.05.09 |

